
As I’d concluded during the casting stage of my first attempt I can’t continue with that mold until I can afford to get hold of some less viscous resin or without trying to make major modifications, and possibly wasting the rest of the resin I do have. The next logical step (in my mind) was to try a different mold design, taking into account everything I’d learnt about the properties of the silicone and resin I currently had left.
Part 1 – Making the mold
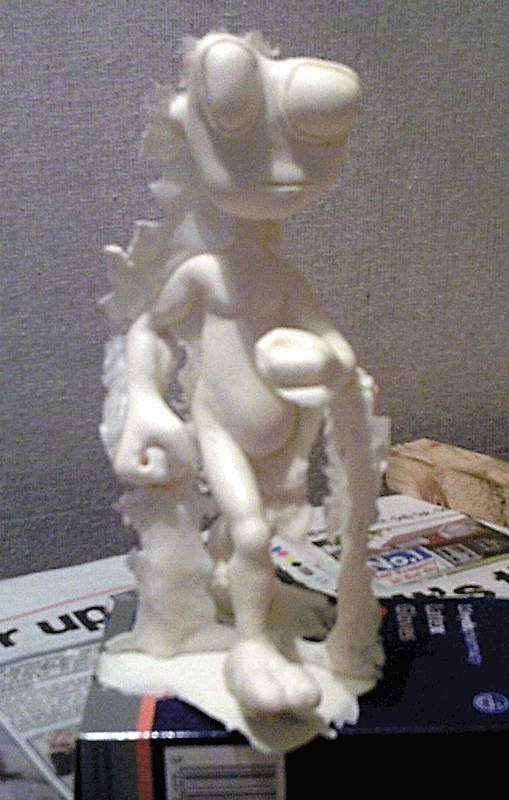
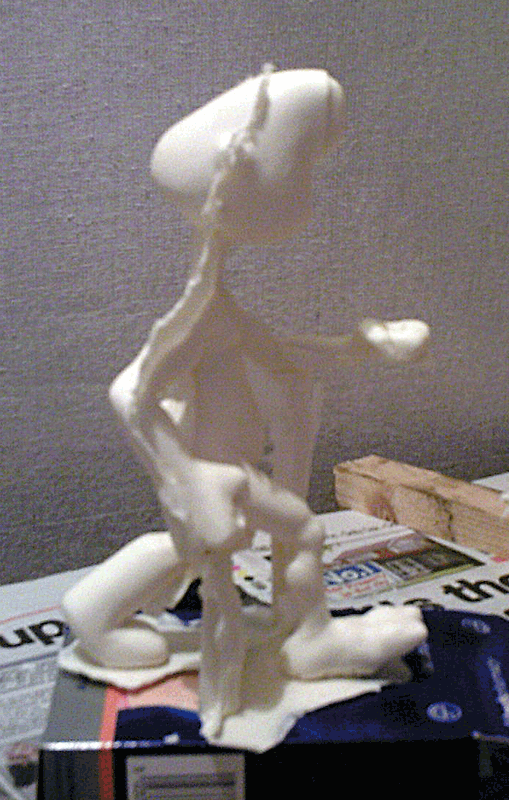
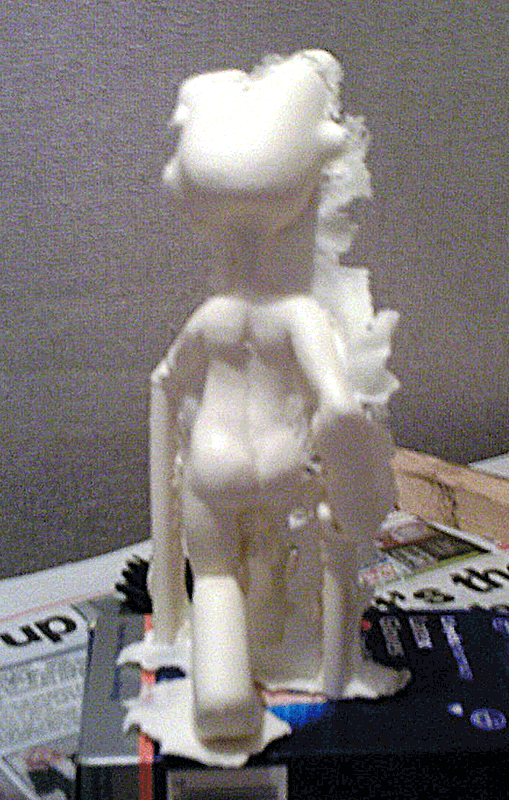
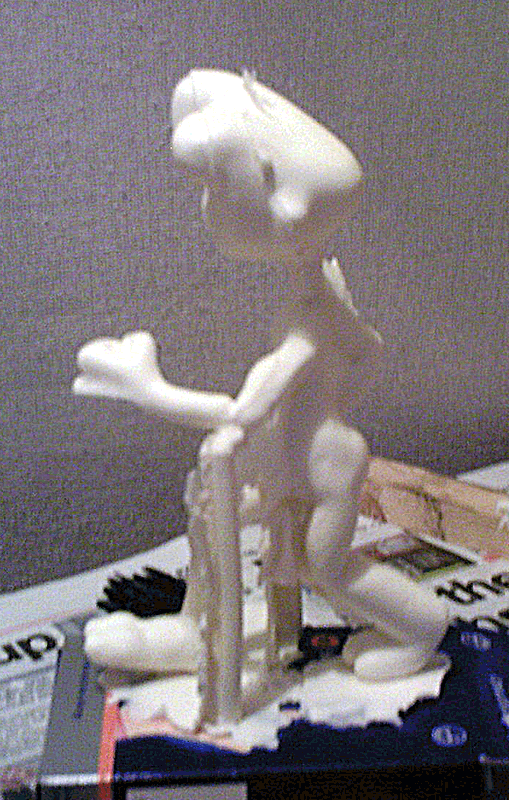
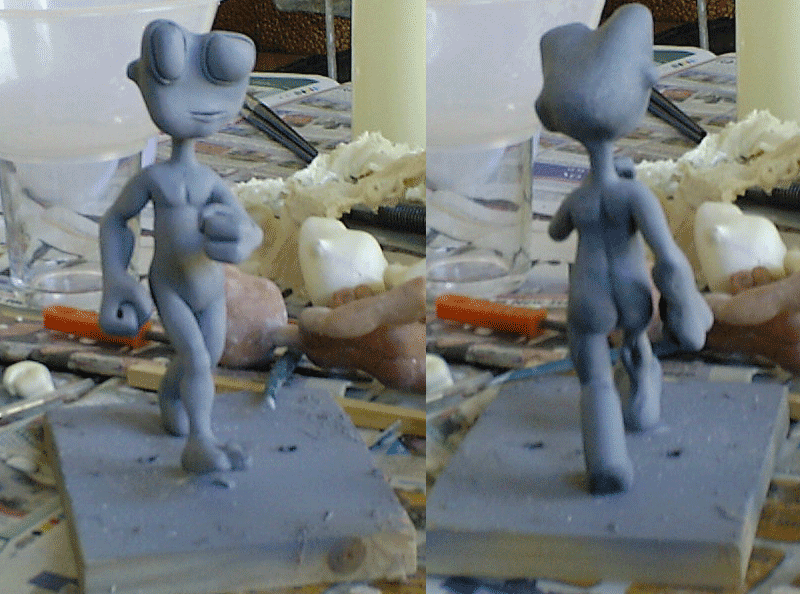
I decided that a simple two part mold of Jerry in a ‘standing upright’ position would be a good choice as it would reduce the number of incisions needed for de-molding, and I cold simply turn it upside down to pour resin in through the foot holes a the top/bottom. I’d include thicker ‘sprues’ this time at what would be the ‘high points’ of the mold to enable the air to be much more easily displaced by the lightweight resin.
I’d already drilled the model and prepared a piece of wood with a dowel so Jerry could ‘stand’ by himself, so all I had to do was repair the damage to the model incurred in the previous de-molding, and drill and place a couple more dowels which would reach up the the hand on one side and elbow on the other. I decided not to re-bake the model repairs this time as I didn’t want to risk further weakening the joints.
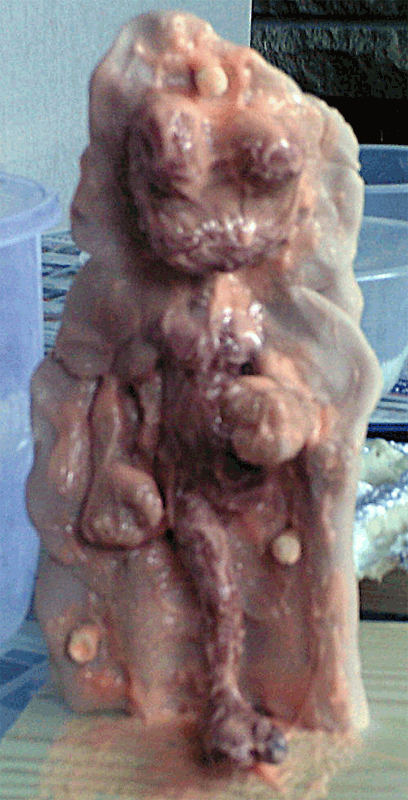
Once it was all in place and stable I filled around the model at what would be my mold seam with sculpey, adding a couple of pegs to help the alignment of the two halves, sprayed on a little release agent and then began applying my layers as in my first attempt. I only used 3 layers this time, as I think I’d used too much silicone previously which was partly why it was so hard to de-mold. I then applied a thin layer of plasti-paste (this was the most expensive individual component and I was running out) to my first side and allowed this to set. After it had hardened, I carefully removed the sculpey, sprayed on a generous amount of release agent to the exposed side (the one thing you can really rely in silicone sticking to is silicone) and repeated the process, then using the last of the plasti-paste to complete the mold shell.
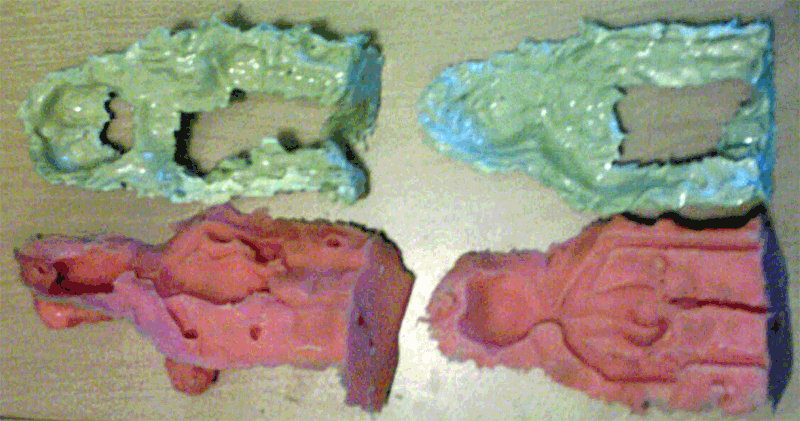
After leaving it all overnight to be sure the silicone had fully cured I removed the mold shell, and then de-molded the model again, only needed 3 incisions this time to allow me to remove the legs and the forward fist/arm. The head and arms came away from he model again, but as I had not re-baked this is easy to again rectify if I need to make yet another mold.
Part 2 – Casting
Stage 1 – First Attempt
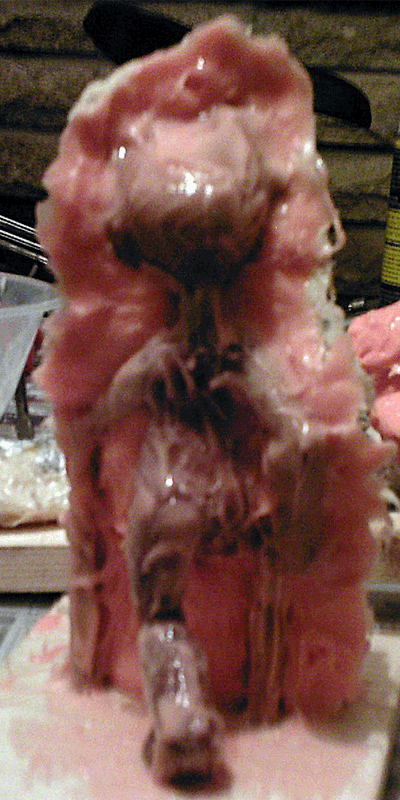
I re-assembled the mold, inverted it and placed it securely in a holder (or an old glass I had which just happens to be the right size for the ‘head end’ of the mold to fit in snugly) and used a few elastic bands to help keep the mold closed.
I mixed the resin into a cheap plastic jug (thanks again £1 store) and very carefully and slowly to try and reduce the chance of bubbles being trapped poured it into one of the foot holes. This attempt appeared to be a success, as I could see the level of resin rising up in the mold through the other foot and sprue holes, but as I stopped pouring the level dropped again, and I noticed the incision I’d made to remove the forward fist which I assumed would stay closed was leaking. My only choice was to allow the resin to find it’s own level and leave it to harden.
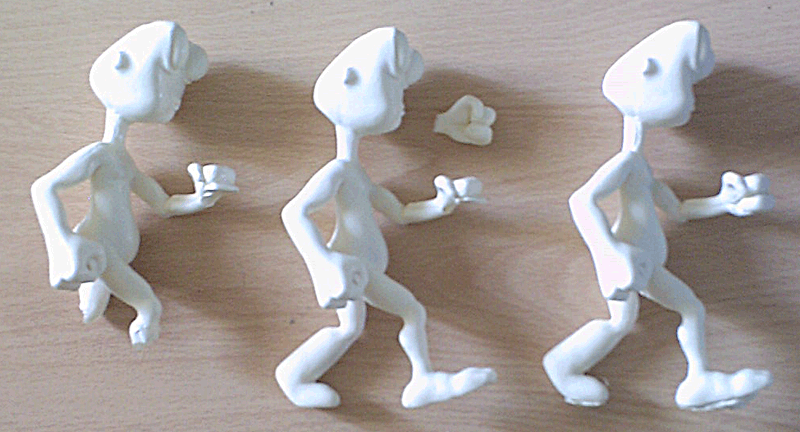
Upon de-molding I still mark this attempt as a partial success, as the only ‘missing parts of the model were the lower legs and feet and part of one of the hands. (Remember all I managed to produce form my first mold was some sprue’s and a foot).
Stage 2 – Second Attempt
After my partial success I realised I could possibly get a perfect cast if I could seal up the arm incision. Tape unfortunately doesn’t stick well to silicone and elastic bands deform the mold too much to be useful, so I came up with the idea of sealing it with wax. I then used extra elastic bands on this attempt to help reduce the chance of further leaks higher up the mold towards the leg incisions, repeated my casting and left it to harden. Whilst almost perfect this time I discovered I’d missed a potential air pocket in the forward hand, and that even with the alignment pegs and elastic bands, because of the nature of my mold it is near impossible to perfectly align the sections, so I still have a little leakage (not enough to prevent a full cast, but enough that there is a lot of clean-up work needed on the mold seam and leg incisions where leakage and miss-alignment had occured).
Stage 3 – Third Attempt
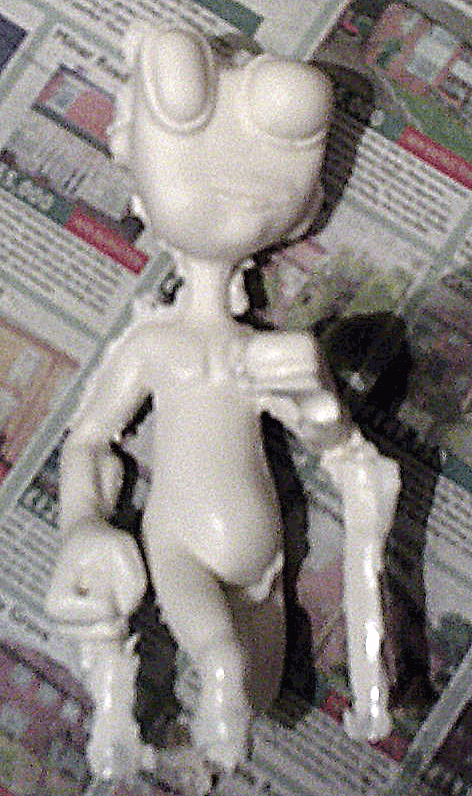
To resolve my previous problems, this time I put a partial wax seal on the leg incisions as well as the arm, pierced the mold and left in a couple of wires where the air blockage was occurring and attempted re-casting. I filled the mold as before, and carefully removed the wires from where they were blocking the hole making sure I enabled a tiny amount of resin to leak out (ensuring there was no air remaining). When the wires were fully removed, the hole was small enough that it resealed, stopping any further leakage. On de-molding this time, whilst still needing some cleaning up before the cast is ready for painting an final finishing, I was left with a near perfect complete copy of my original model. I also used some of the wastage resin from this cast to fill the ‘missing’ hand section in my previous mold, leaving me with a hand I can attach to my second casting to complete it ready for finishing and painting tests.
Part 3 – Clean-up finishing and painting
Coming soon, I need to clean up the casts I have made and decide if I am going to use up my remaining resin on this mold, or try and design a few more models and cast prototypes of them too. I then need to finalise my texture on my CG Jerry, so I can attempt to reproduce the pattern in paint on my casts.
One Reply to “Second Attempt”